
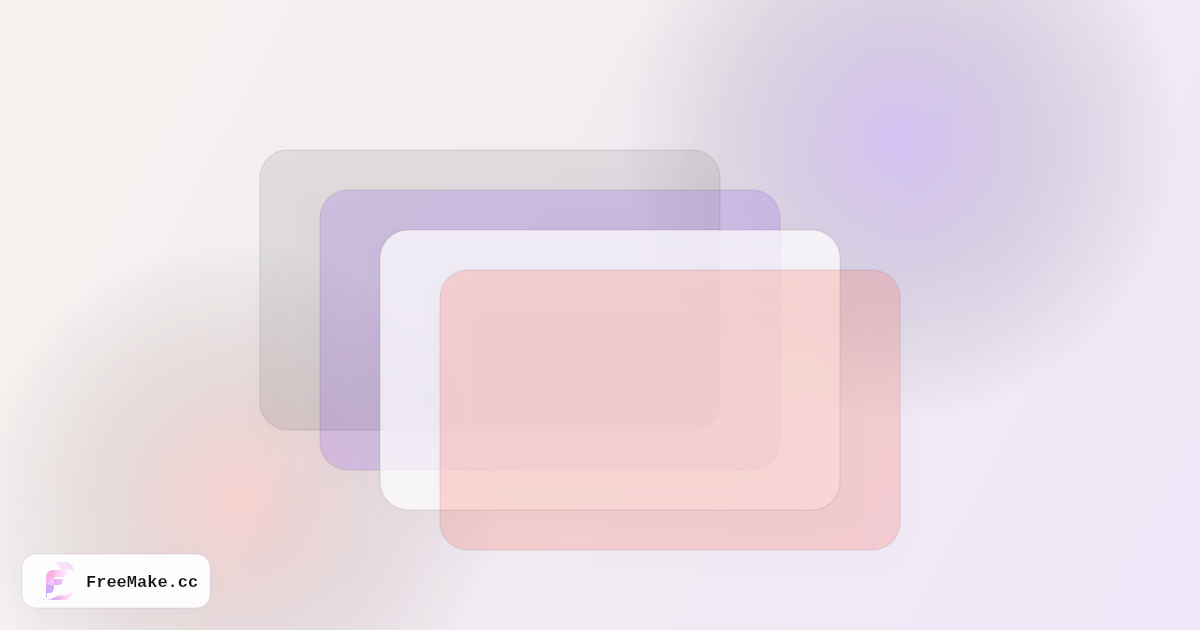
Figma can place a poster, a product shot, or a screenshot as one locked image. It cannot reach inside that file and move the headline, the product, and the background separately. A layer split does that job: several transparent PNGs, stacked in the same order as the original, so you can nudge type, recolor a shape, or hide a background in Figma.
Open Split image into layers when you want those PNGs. This is an AI tool. It uploads the image, and it spends credits. It is not one of the local browser utilities, and it is not covered by the daily image-generation quota alone. Read the credits section below before you run it.
If you only need equal tiles — a nine-grid for Instagram, a storyboard of slices — use Image splitter online. A grid cut is not a layer stack.
What “layers for Figma” means
A useful import is a set of PNG files that:
- Share the same canvas size as the source, including transparent pixels.
- Separate foreground pieces (product, title, badge, person) from the background.
- Drop into one Figma frame, stacked, and line up without manual repositioning.
You then edit in Figma: change copy, swap a color, export a single layer, or rebuild the layout. The split is a starting stack, not a finished component library. Expect to name layers, crop extras, and sometimes redraw a piece the model merged.
This is different from “remove the background and keep one subject.” One cutout is a single PNG. A layer split aims for several PNGs. When you only need the subject on transparency, Remove background is the shorter path.
AI layer split versus a grid splitter
| Split image into layers | Image splitter online | |
|---|---|---|
| What you get | Transparent PNGs stacked as editable pieces | Equal tiles cut from the same picture |
| Best for | Posters, product shots, UI grabs you will restack in Figma | Nine-grid posts, contact sheets, sliced banners |
| How it runs | Upload. AI separation. Sign-in required | Local grid in the browser |
| Credits | Paid credits or signup gift credits. Not the daily image quota by itself | Local tool. No generation credits |
| What it is not | A grid of squares | Separate objects with transparency |
Use the grid when position on the page is the point and every tile should stay a normal image. Use AI layers when you need to move or recolor objects that overlap.
Do not run a poster through the grid tool and expect Figma layers. You will get slices of the same flat image. Do not run a nine-grid brief through AI layer split and expect perfect squares.
Source images that split cleanly
The model separates what it can see. Give it a clear original:
- A poster or ad with a distinct subject, a background, and a few text or badge groups.
- A product photo on a simple set, where the product should lift off the scene.
- Enough resolution to read edges. A tiny screenshot of a screenshot will fuse type into the background.
- Limited clutter. Ten overlapping stickers become muddy layers. Two to five visual groups is a kinder brief.
Hard cases: hair against a detailed background, white type on a pale sky, heavy compression, and screenshots of Figma itself (pixels of pixels). You can still split them. Plan on cleanup.
Flattened JPG and PNG both work as input. The output you want for Figma is PNG so transparency survives. A JPG cannot hold a transparent layer.
Steps: choose 2–8 layers
- Open Split image into layers.
- Sign in. The tool checks credits before it runs.
- Upload the poster or product shot. This step sends the file for AI processing. It does not stay only on your device.
- Set the layer count from 2 to 8. Start at 4 for a typical poster (background, subject, title, extras). More layers mean a finer split and a higher credit cost, because each layer is part of the run.
- Start the split and wait for the PNG stack.
- Download the layers. Keep the original next to them so you can compare alignment.
If the stack fused the title into the product, run again with a higher count, or split once and finish the title by hand in Figma. If it shattered one object into scraps, lower the count.
Credits, honestly
Layer split is not a daily-quota-only tool, and it is not a local converter.
- The image is uploaded for the split.
- You must sign in.
- Each run spends paid credits or signup gift credits. The balance that pays for this tool is that paid-and-gift pool.
- The daily quota on FreeMake.cc is for ordinary AI image generation after sign-in. Do not assume a layer split is included in that daily allowance just because the homepage says permanent free image generation.
- Cost scales with the layer count you choose (2–8). Check the credit line in the workbench before you confirm.
Local tools on the site — GIF and Live Photo converters, the grid image splitter — do not use this credit pool. Do not mix those promises with layer split.
The tool page itself stays public. Anyone can read it. Only the generation step asks you to sign in and spend credits.
Clean up in Figma
- Create a frame at the source size.
- Drop every PNG into that frame. If the files share the source canvas, they should stack in place. Do not scale one layer without the others.
- Name the layers from the back: background, photo, product, title, badge.
- Hide the background layer to confirm the foreground PNGs are actually transparent.
- Fix the usual leftovers: a halo on hair, type that baked in a shadow, a piece of background stuck to a sleeve. Redraw or mask those. A second pass with Remove background helps when one subject is almost right and the rest of the stack is not.
- Replace baked-in text with real Figma text when the words must be editable. Image type is still pixels.
- Export the frame or the single layers you changed.
Alignment drifts if you crop one PNG. Keep the full canvas until the stack looks right, then crop the frame.
Related workflows
- Grid tiles, not layers: Image splitter online.
- One subject, no stack: Remove background.
- New poster pixels before you split: generate on FreeMake.cc with the daily quota, download, then spend paid or gift credits on the split if you need layers.
- Listing crops and file size after export: the compress and resize tools in the browser tools list. Those stay local.
FAQ
- ### Is a grid split the same as layers for Figma?
- No. Image splitter online cuts equal tiles. Split image into layers builds transparent PNGs you can stack and edit.
- How many layers should I ask for?
- Between 2 and 8. Four is a practical start for a poster. Raise the count only when distinct objects are still stuck together.
- Does layer split use the daily free quota?
- No. It uploads the image and spends paid credits or signup gift credits. The daily quota is for standard AI image generation, not this split.
- Do I need an account?
- Yes, before the split runs. Reading this guide and opening the tool page do not require a generation.
- Will the PNGs line up in Figma?
- They are meant to share the source canvas. Place them in one frame without scaling a single layer. Then name, mask, and replace baked-in text.
- Can I keep this fully on my device?
- Not this tool. The split uploads the file. For a local cut into tiles, use the grid splitter. For one subject on a simple background, Remove background is a local color-key cutout in the browser — useful on flat studio backdrops, not a hair-level matte.
Articles associés
- À quoi sert vraiment un site gratuit GPT Image 2 pour créer et éditer des images après connexion ?
FreeMake.cc réunit GPT Image 2, l'édition IA et 40+ outils image en ligne dans un espace de travail gratuit — après connexion, dans le navigateur. Visuels e-commerce, scènes, mannequins, compression et conversion en un seul endroit.
- 10 meilleurs générateurs d'images IA gratuits en 2026 (classés et comparés)
Une comparaison honnête des meilleurs générateurs d'images IA gratuits en 2026 : GPT Image 2, Gemini 3, Qwen Image 2.0, Seedream 4.5, Flux 2, et plus encore. Aucune inscription requise sur FreeMake.cc.
- Guide des tailles d'images Amazon 2026
Toutes les exigences Amazon en un seul endroit — avec des outils navigateur gratuits pour redimensionner, auditer et compresser avant l'upload.