
Portrait → terminal-style ASCII portrait
Before
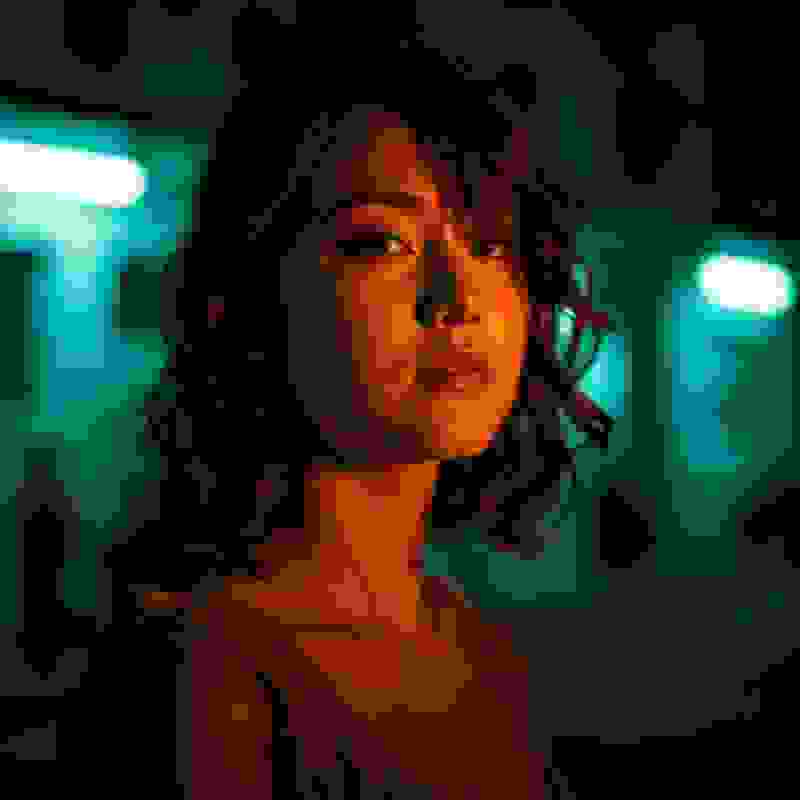
ASCII art
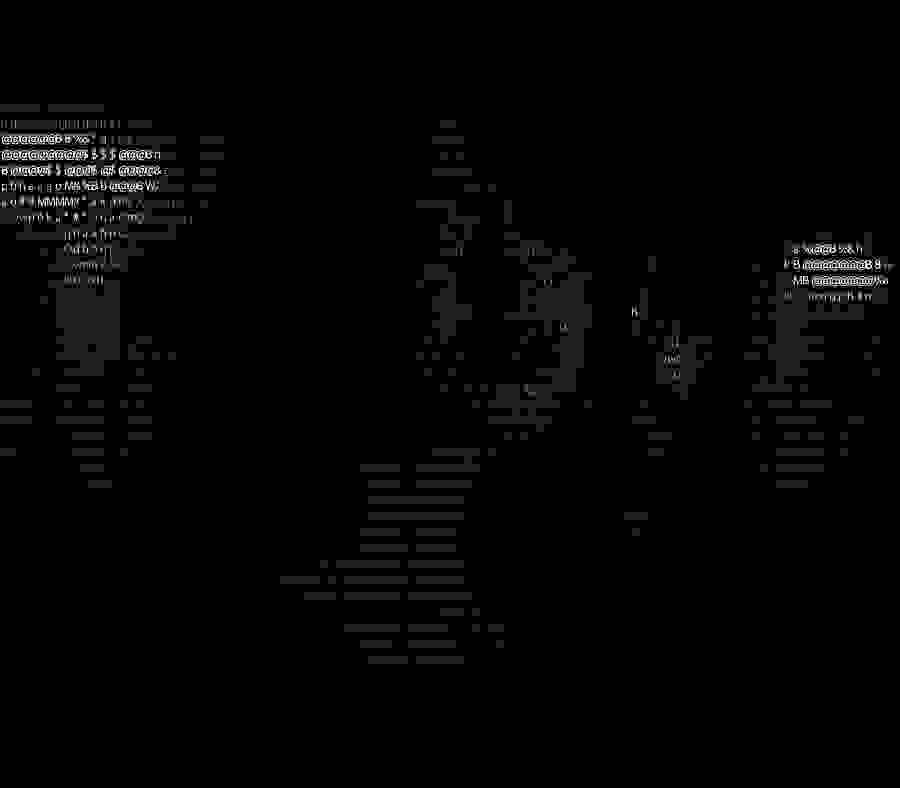
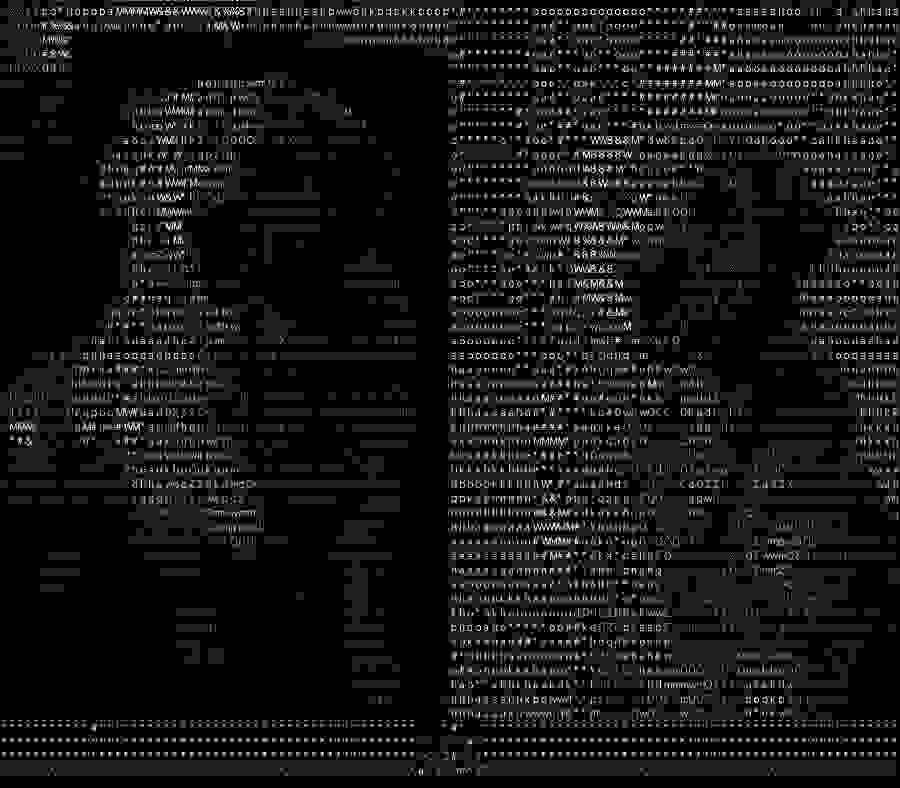
100 columns with Detailed glyphs—facial structure stays clear for README banners.
For developers, designers, creators & social media users
Author: FreeMake.cc Imaging TeamLast updated:
Upload a photo, pick a character style and detail level—get recognizable ASCII text art in seconds.
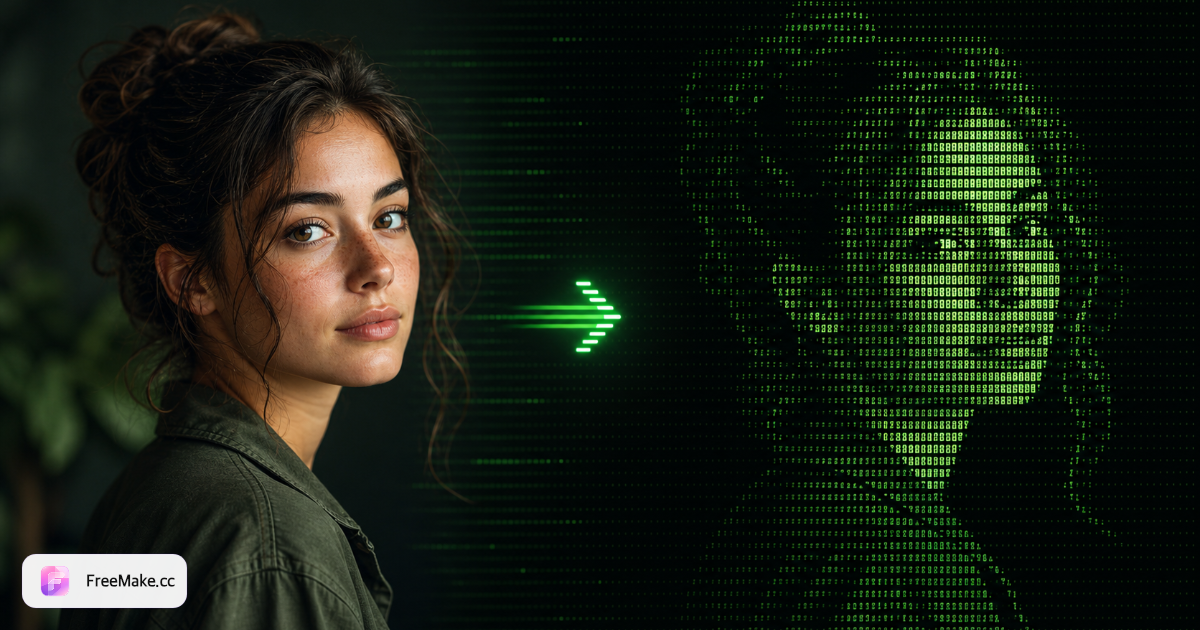
Before-and-after from FreeMake.cc's Detailed character ramp—recognizable grayscale text art, not muddy noise.
Before
ASCII art
100 columns with Detailed glyphs—facial structure stays clear for README banners.
Before
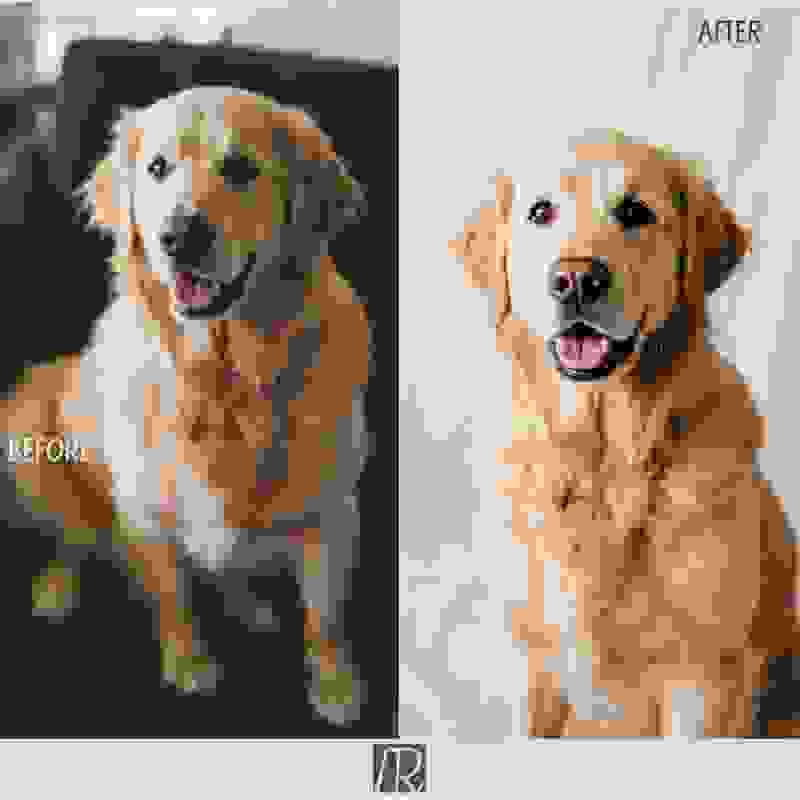
ASCII art
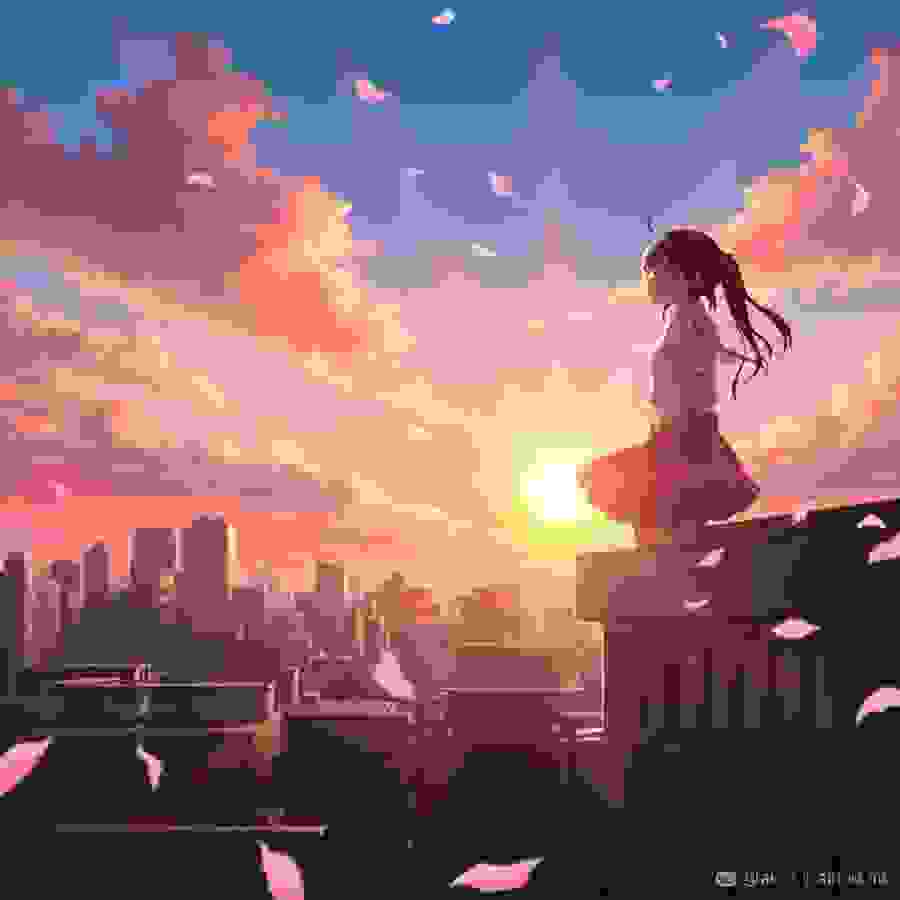
110 columns—fur texture and outline readable for social posts.
Before
ASCII art
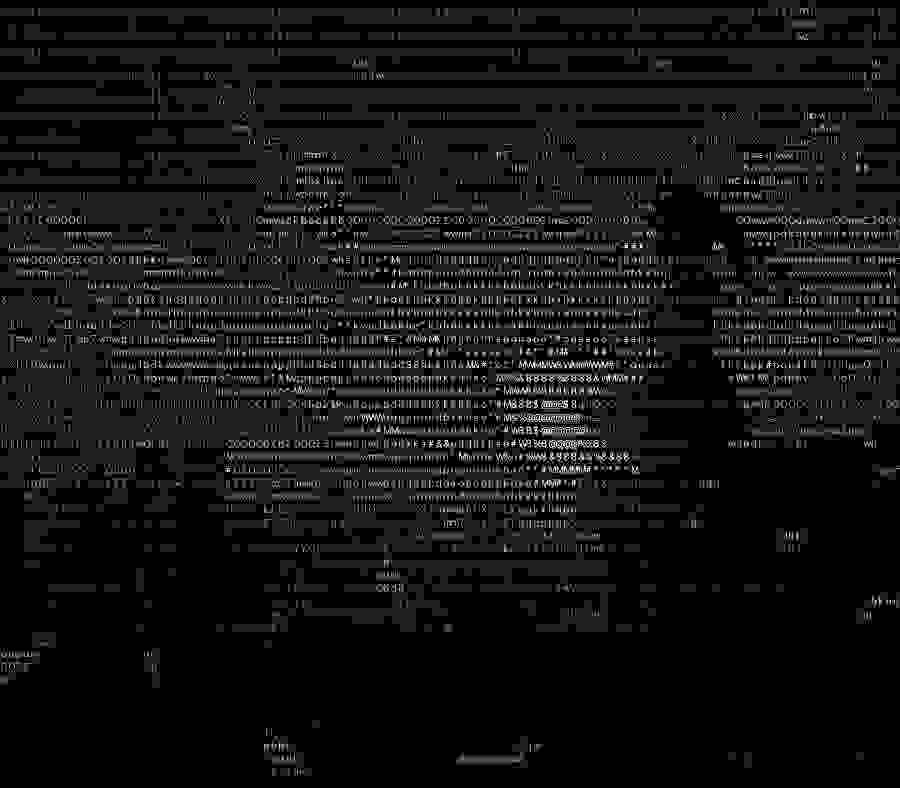
120 columns—smooth tonal steps on illustrations, great for wallpapers.
FreeMake.cc maps brightness to a character grid in your browser—four styles, adjustable density, export as copyable text or PNG.
Portraits, pets, logos and silhouettes work best. Avoid busy, low-contrast scenes. Files never upload.
More columns = more detail. Start at 120; bump to 140–160 if edges look soft.
Detailed suits most photos; Blocks feels bolder; Minimal is graphic and high-contrast.
Copy TXT into READMEs or chats; download PNG for social. Enable color when you want hue in the preview.
Local privacy, rich character ramps and tunable density make text art both retro and readable.
No more coarse 10-character ramps—Detailed mode uses 70+ glyphs for smooth grayscale.
Plain text for code and terminals; PNG for visual sharing without relying on monospace fonts.
Photos stay on your device—safe for unreleased work and personal shots.
No signup. Use results in personal or commercial projects.
Pick a glyph set to match your visual goal.
@#S%?*+;:,. — standard grayscale ASCII for terminals and READMEs.
70+ characters with the smoothest tonal steps—best face recognition.
█▓▒░ half-block glyphs—dense, poster-friendly pixel feel.
Few characters, bold contrast—great for logos and silhouettes.
Quick answers on generation, quality tuning & export.
ASCII art maps each small region of a photo to a text character by brightness—dark areas become dense glyphs like @ or #, light areas become sparse ones like . or space. Lined up in a grid, the original image reappears in pure text.
Upload an image, raise the detail slider to 100–140 columns, choose the Detailed style for smooth shading, preview, then download TXT or PNG.
Too few characters in the ramp loses tonal steps. FreeMake.cc now defaults to a 70+ character Detailed set and higher column count so faces and outlines stay readable.
No. Character mapping, preview rendering and export all run locally—photos never leave your device.
Classic is a standard grayscale ramp; Detailed has the most glyphs for smooth gradients; Blocks uses █▓▒░ for a dense pixel-block look; Minimal uses few characters for bold, high-contrast graphics.
Invert helps dark photos or light-background looks. Color mode tints each character with the source pixel color—PNG previews feel closer to the original photo.
Completely free, no signup, no watermark. TXT and PNG exports are yours to use.
Use a clear, high-contrast subject; raise detail density; prefer Detailed style; simple backgrounds help the subject pop. Try invert if tones look muddy.
Plain .txt to paste into READMEs, chats or code—or an HD PNG preview for social and print.
Crop the subject or adjust brightness first, then convert. Pair with pixel art or compress after export if needed.
Explore other browser-based utilities on FreeMake.cc—all linked for quick access.